METALLOGRAPHY

Metallography is an informative tool in the processing of materials. It is essential in helping classify problems and failures. Microstructural examinations and visual evaluations of fracture surfaces provide insight into the mechanism of component and assembly failures. A-Lab's state of the art instrumentation and qualified personnel rapidly and competently prepare metallurgical samples for evaluation of case depth, plating thickness, inclusion ratings, grain size, surface defects, and heat treat evaluation. Metallurgical examination is a required tool for welder and procedure qualification. Our Metallography Department can act as an extension of your company's research and development, quality control, and production control departments, by providing a sounding board on technical issues.

TESTING AND ASSOCIATED STANDARDS

Case Depth- SAE J423

Failure Analysis – ASM Handbook 11

Grain Orientation/Macrostructure – ASTM E340

Grain Size- ASTM E112 Practice A & D

 ASTM E930 

ASTM E1181

Inclusion Rating – ASTM E45 (Methods A,E) 

Laser Induced Breakdown Spectroscopy (LIBS) 

Salt Spray – ASTM B117

Volume Fraction (Optical Density) – ASTM E562

Welder Qualification- ASME Sec. IX; AWS 1595 (Canceled 2002); AWS: D1.1/D1.1M,D1.2/D1.2M, D1.5/D1.5M, D1.6, D17.1/D17.1M 

TESTING SERVICES

Light Microscopy

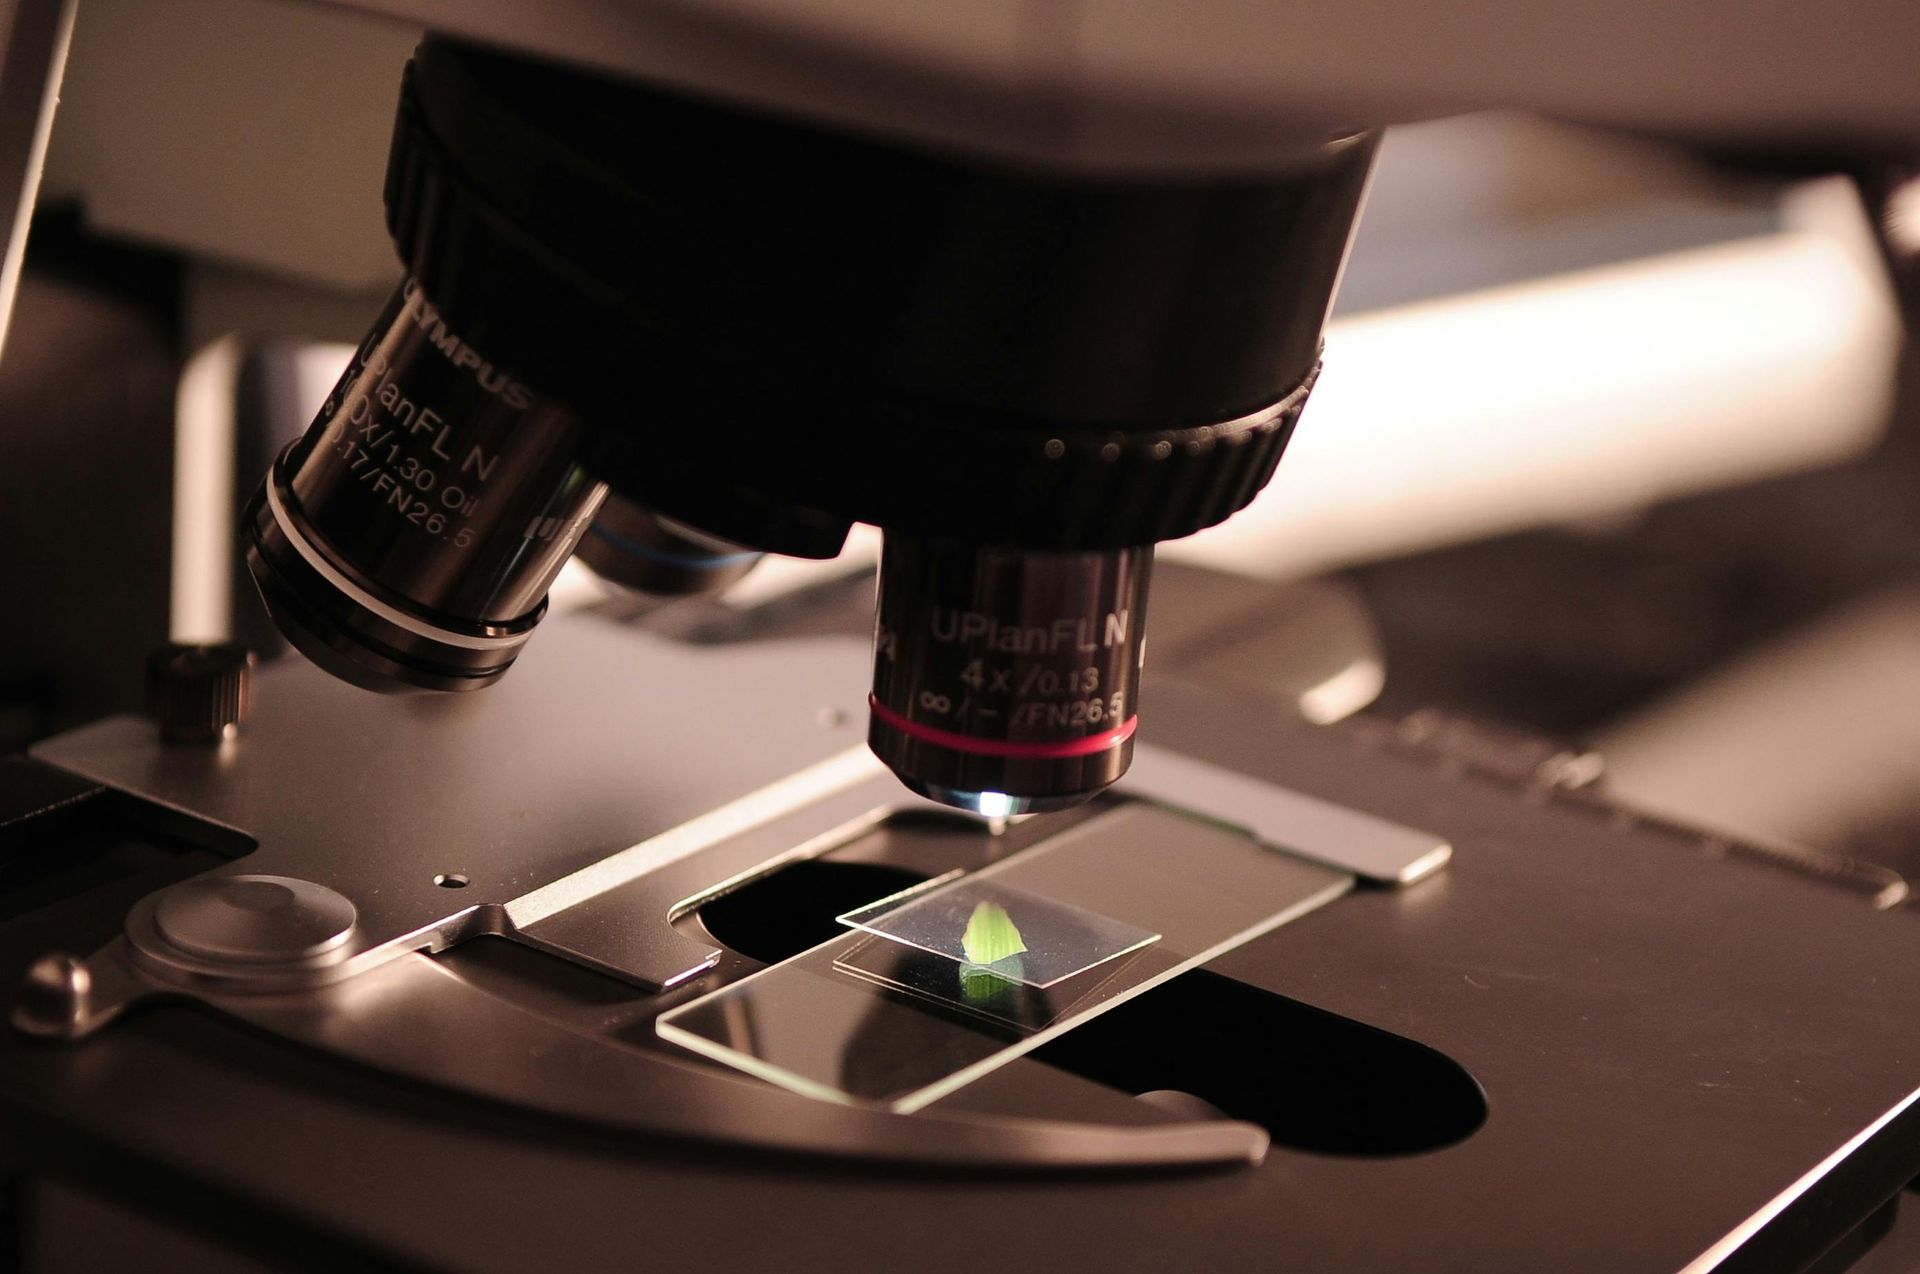
We are able to inspect, digitally measure, and photograph metallurgical samples, fracture surfaces, and as-received surfaces at .066x to 6000x magnification using a variety of types of lighting.

A close up of a microscope with a green object on a slide

Optical Density/Volume Fraction

Optical Density is a means of determining the percentage of phases, voids, or other constituent. The percentage of the metallurgical feature in question is statistically estimated through the use of systemic point count with a grid.

Grain Size

As metal cools from heat treating, the grains will grow. If the temperature of cooling is slow, a larger grain size will be produced. The grain size is a critical characteristic for most metals in that it will determine the usability of the material in its application. ASTM rates grain size on a decreasing scale of #1 to #10, in which grain size of #1 is coarse and #10 is fine. ASTM grain size of #5 is considered the boundary between coarse and fine grain. Typical specification for a fine grain material is specified as ASTM #5 or finer.

Case Depth

Case hardening by carburizing, induction hardening, or flame hardening, at times will require evaluation to a print or specification. Test methods available are microscopic (visual) and by microhardness traverse. Typical depths of cases by visual means will state at the point at which 50% martensite is present. Typical microhardness traverse effective case is at the point at which the hardness drops below HRC 50.

Inclusion Rating

ASTM E45 rates four types on inclusions based on sizes and quantity. The rating is useful in evaluation of a materials conformance to a specification, machinability, and explaining causes of failures. The four types of inclusions rated are: Sulfide, Alumina, Silicate, and Oxide.

Grain Orientation / Macrostructure

Grain orientation or grain flow of forgings is evaluated by macroscopic examination of etched cross sections of the parts. Characteristics that are evaluated are grain run-out, blown grain size, pipe, laminations, etc.

Failure Analysis

In performing Failure Analysis, all the tools that our laboratory have may be utilized. For example, the part(s) will first be visually examined and photographed. Additional tests include nondestructive testing such as mag particle or liquid penetrant, chemical analysis, mechanical testing, and microstructural analysis.  These tests will help isolate the cause of failure.

LIBS (Laser Induced Breakdown Spectroscopy)

We are able to qualitatively analyze material to determine what is present on specimens. This allows us to identify surface layers, determine the cause of surface stains, identify inclusions found in metallurgical cross-section, and more. The laser burn is under 0.001” in diameter allowing analysis of extremely fine points with minimal damage to the material.

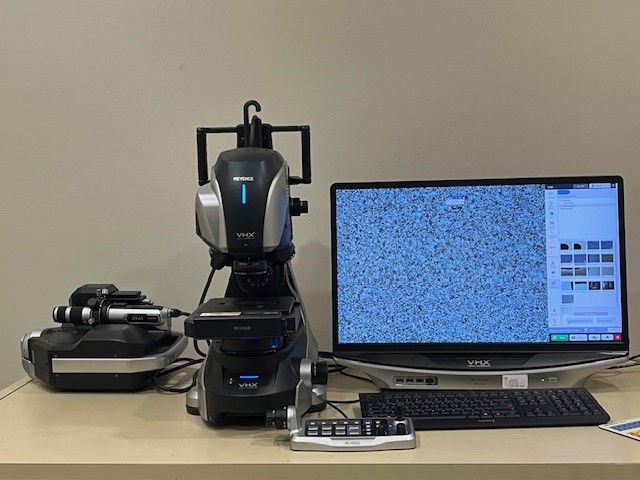
A microscope is sitting on a desk next to a computer monitor.
Share by: